Hi everyone!
No matter where you have your scrapbooking space, part of organization is giving everything its own place and making sure it returns to its home once it has been used. Picture this...you are busy working on a layout, it's coming together perfectly and all you need is one final touch. That light bulb goes off and you rush to get that perfect finishing piece. Fifteen minutes later, you are still searching, not knowing where to look or where you put that perfect piece. That's where getting everything organized will help save you time.
So, welcome to our Organizational Blog Hop. A few friends and myself thought we would share with you our ways of organizing our various scrapbooking supplies. Click on the link above and come join us in the fun.
If you get lost along the way with our Organizational Blog Hop…or want to come back and see something again, here’s the complete list of the gals who are participating in our Organizational Blog Hop.
Photograph Storage - Leanne You are Here!
I am here today, to help you organize your photos. It's only been recently, the digital camera has become so popular. So what about all the photos you have that were taken with a Kodak "Brownie"? (remember that camera?) or with a 35mm camera? That is what I am here to talk about today.
Are your photographs all stored in one gigantic Rubbermaid container? Does it take forever to sift through them to find the perfect photo for that layout? Do you scrapbook in chronological order and find that you keep missing pictures? Does your assortment of pictures look like this:
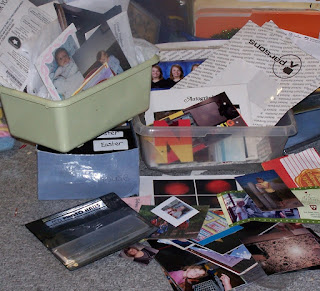 Thanks to my good friend, Shellie, for sharing her stack of messy photos. She was smart enough to take before and after pictures. This is something I have yet to master! Maybe because I don't want to remember the way it was! As the Robinsons always say, "Keeping Moving Forward!" LOL
Since I have photos that date back as far as 1860, organizing them was a challenge in its own. So, I broke it up into 3 categories.
a.) 1860 -1900
b.) 1901 - 1950
c.) 1951 - 2000
From 2001 to the present, I have been using a digital camera and all my photos are stored on my external harddrive, with a cd copy as a back up and another one for save keeping. When working with digital images, make two copies of each disc, one to work with and another to store in a separate location. My cds are organized the same way as my photo boxes.

Step 3) Then I purchased acid free storage boxes.
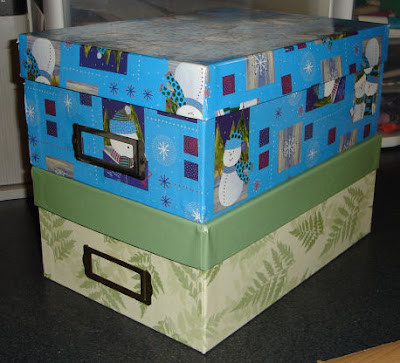 There are several on the market from inexpensive photo boxes to more sturdier plastic boxes. Michaels regularly has their photo boxes on sale for 40-50% off if you are looking for a bargain.
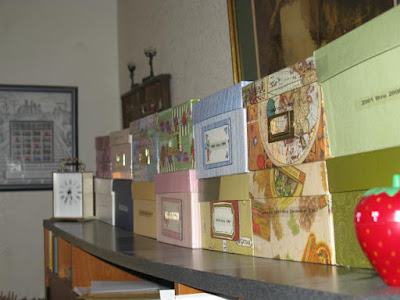
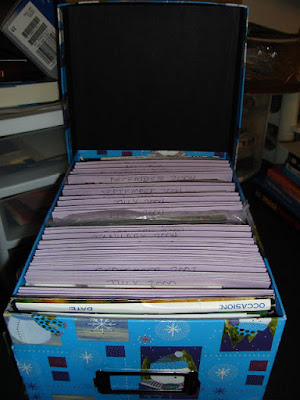 Now, all my photos are organized and I know exactly where to find them. It makes it so much easier to scrapbook when I know where to find those photos. Once I finished filling up all the photo boxes, I store them on top on my computer desk in the Rubber Room for easy access.